
Google Calendar events keep you and your team organized and on track. But creating events on Google Calendar can be tedious when you do it repeatedly. Not to mention, manually entering dates and times can make for human error and inaccurate calendars. Instead, you can use Google Sheets and workflow automation tool Zapier to automatically create Google Calendar events.
Simply create rows in Google Sheets and Zapier will automatically add them as events on Google Calendar. This is especially handy when you need to add events to Google Calendar in bulk or teammates are adding events to your calendar or a shared one.
In this post, we'll show you how to automatically create Google Calendar events from Google Sheets using Zapier. Use this pre-made automated workflow—what we call a Zap—and follow along using the steps below:
Step 1: Log into Zapier
Click on the orange "Use this Zap" button above. Log in to your Zapier account or create one for free if you don't already have one. Once you're logged in, you're ready to create your Google Sheets + Google Calendar Zap.
Step 2: View Your Zap's Trigger
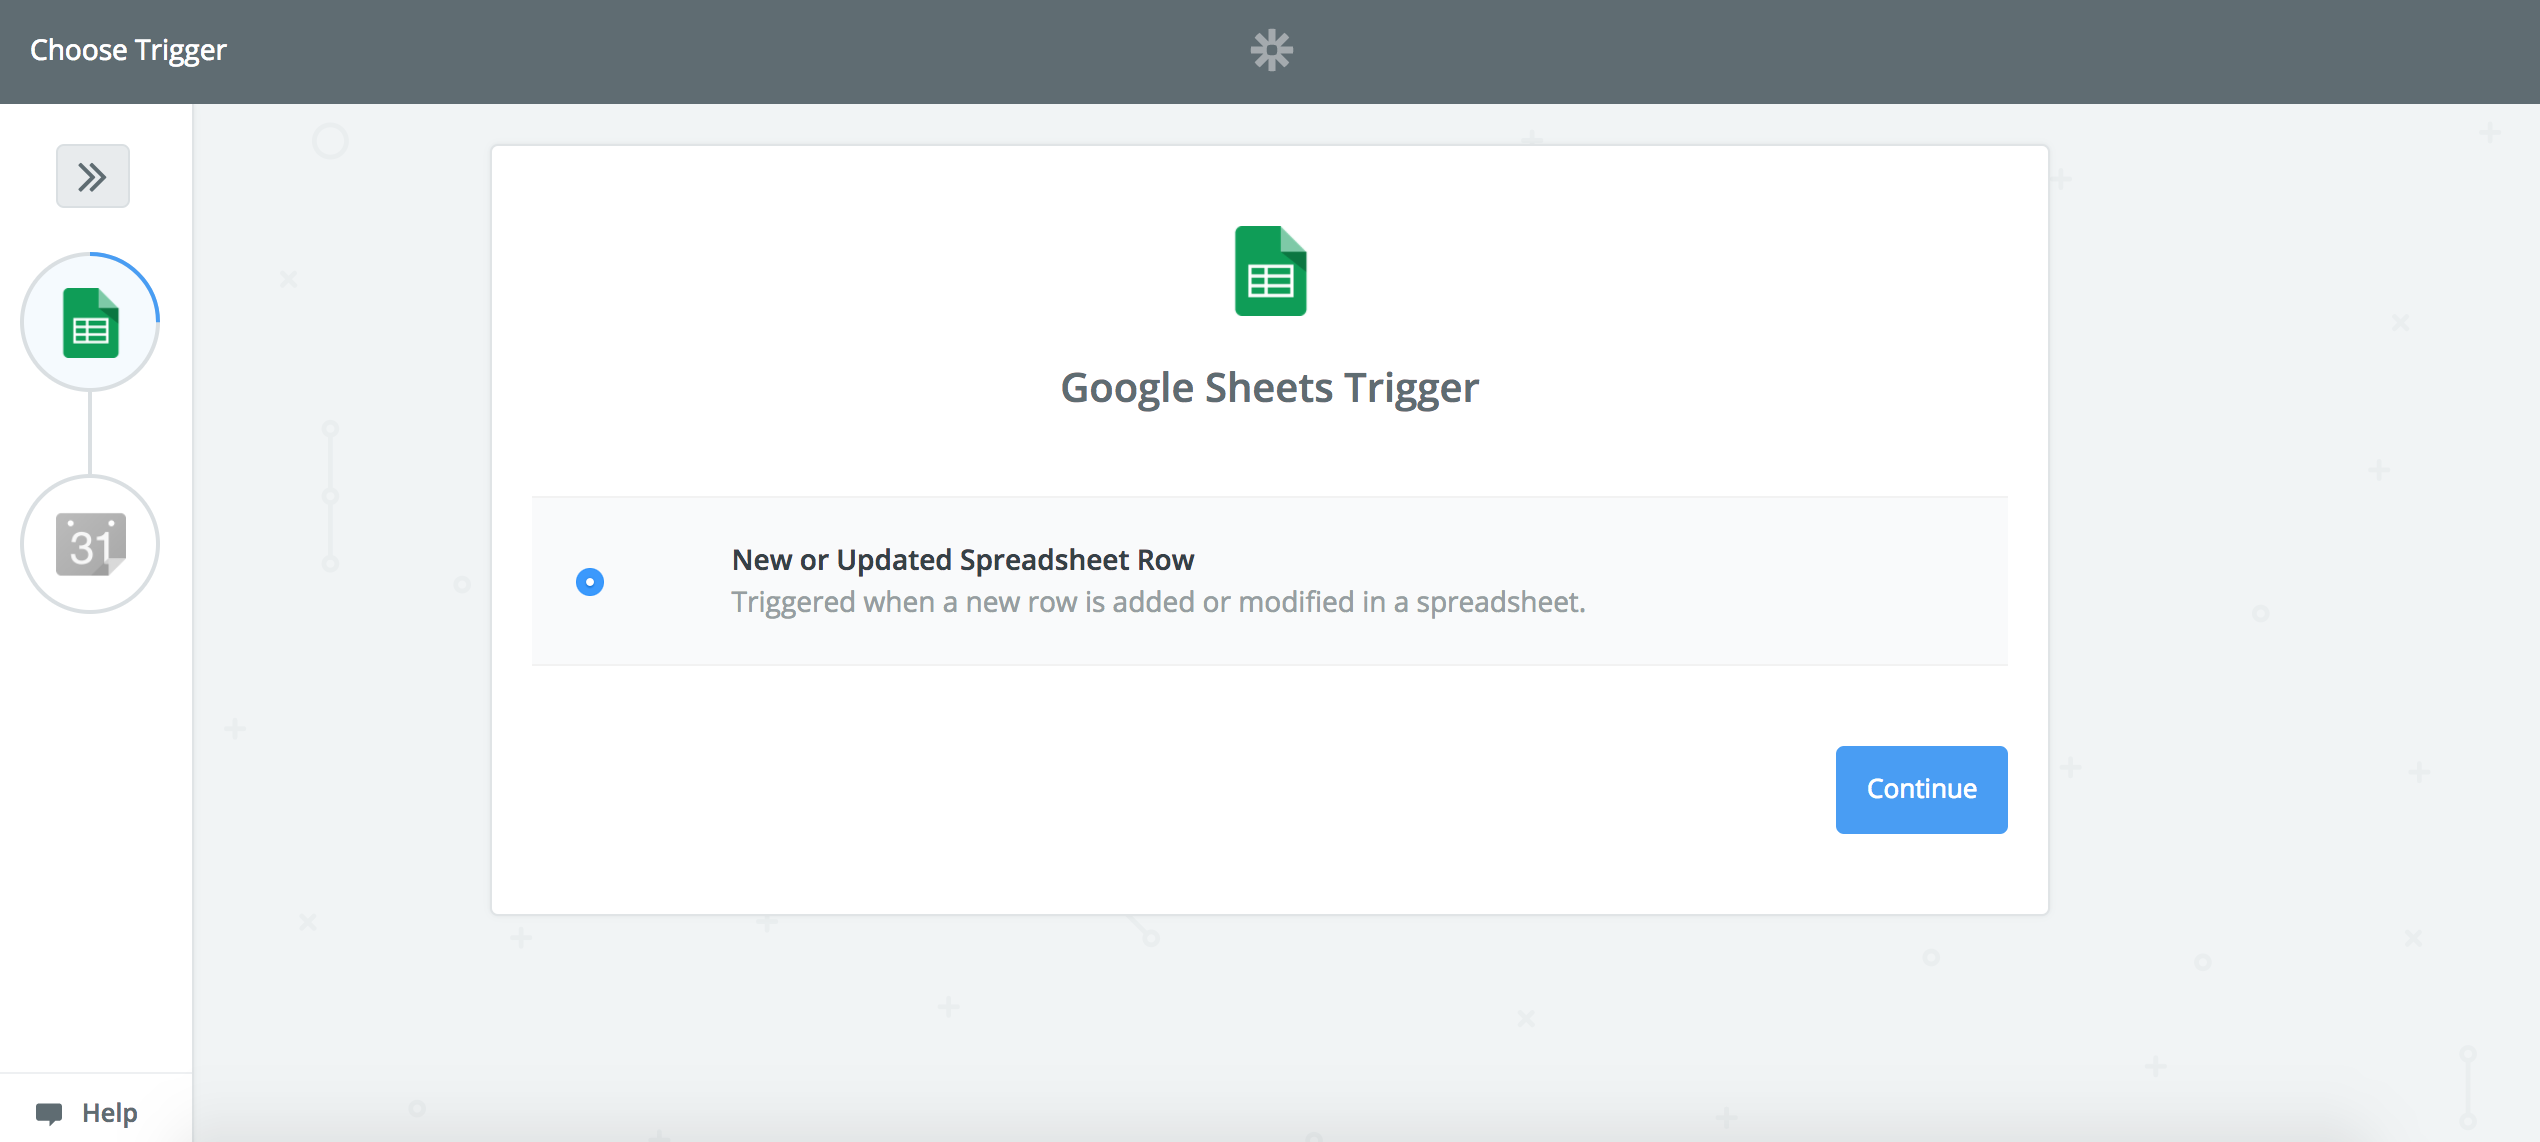
Now you are within the Zap editor, where you can create and customize your own automated workflows. First, the Zap editor shows you the Trigger for your Zap. This is what will kick off your Zap, so in this case the Trigger is "New or Updated Spreadsheet Row" in Google Sheets. Click "Continue."
Step 3: Create Your Google Sheet
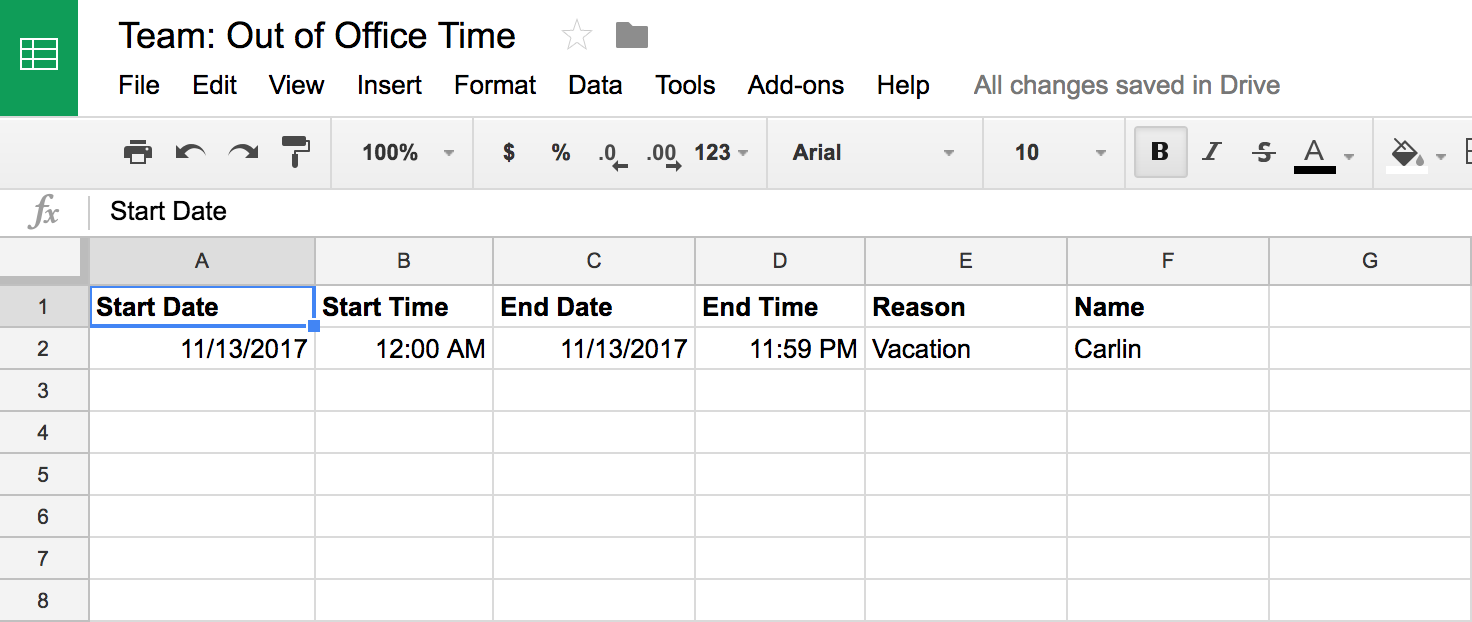
You will need to have your Google Sheet already created with column headers and at least one row of data.
Once you've done that in Google Sheets, click "Continue" in the Zap editor.
Step 4: Connect Your Google Sheets Account
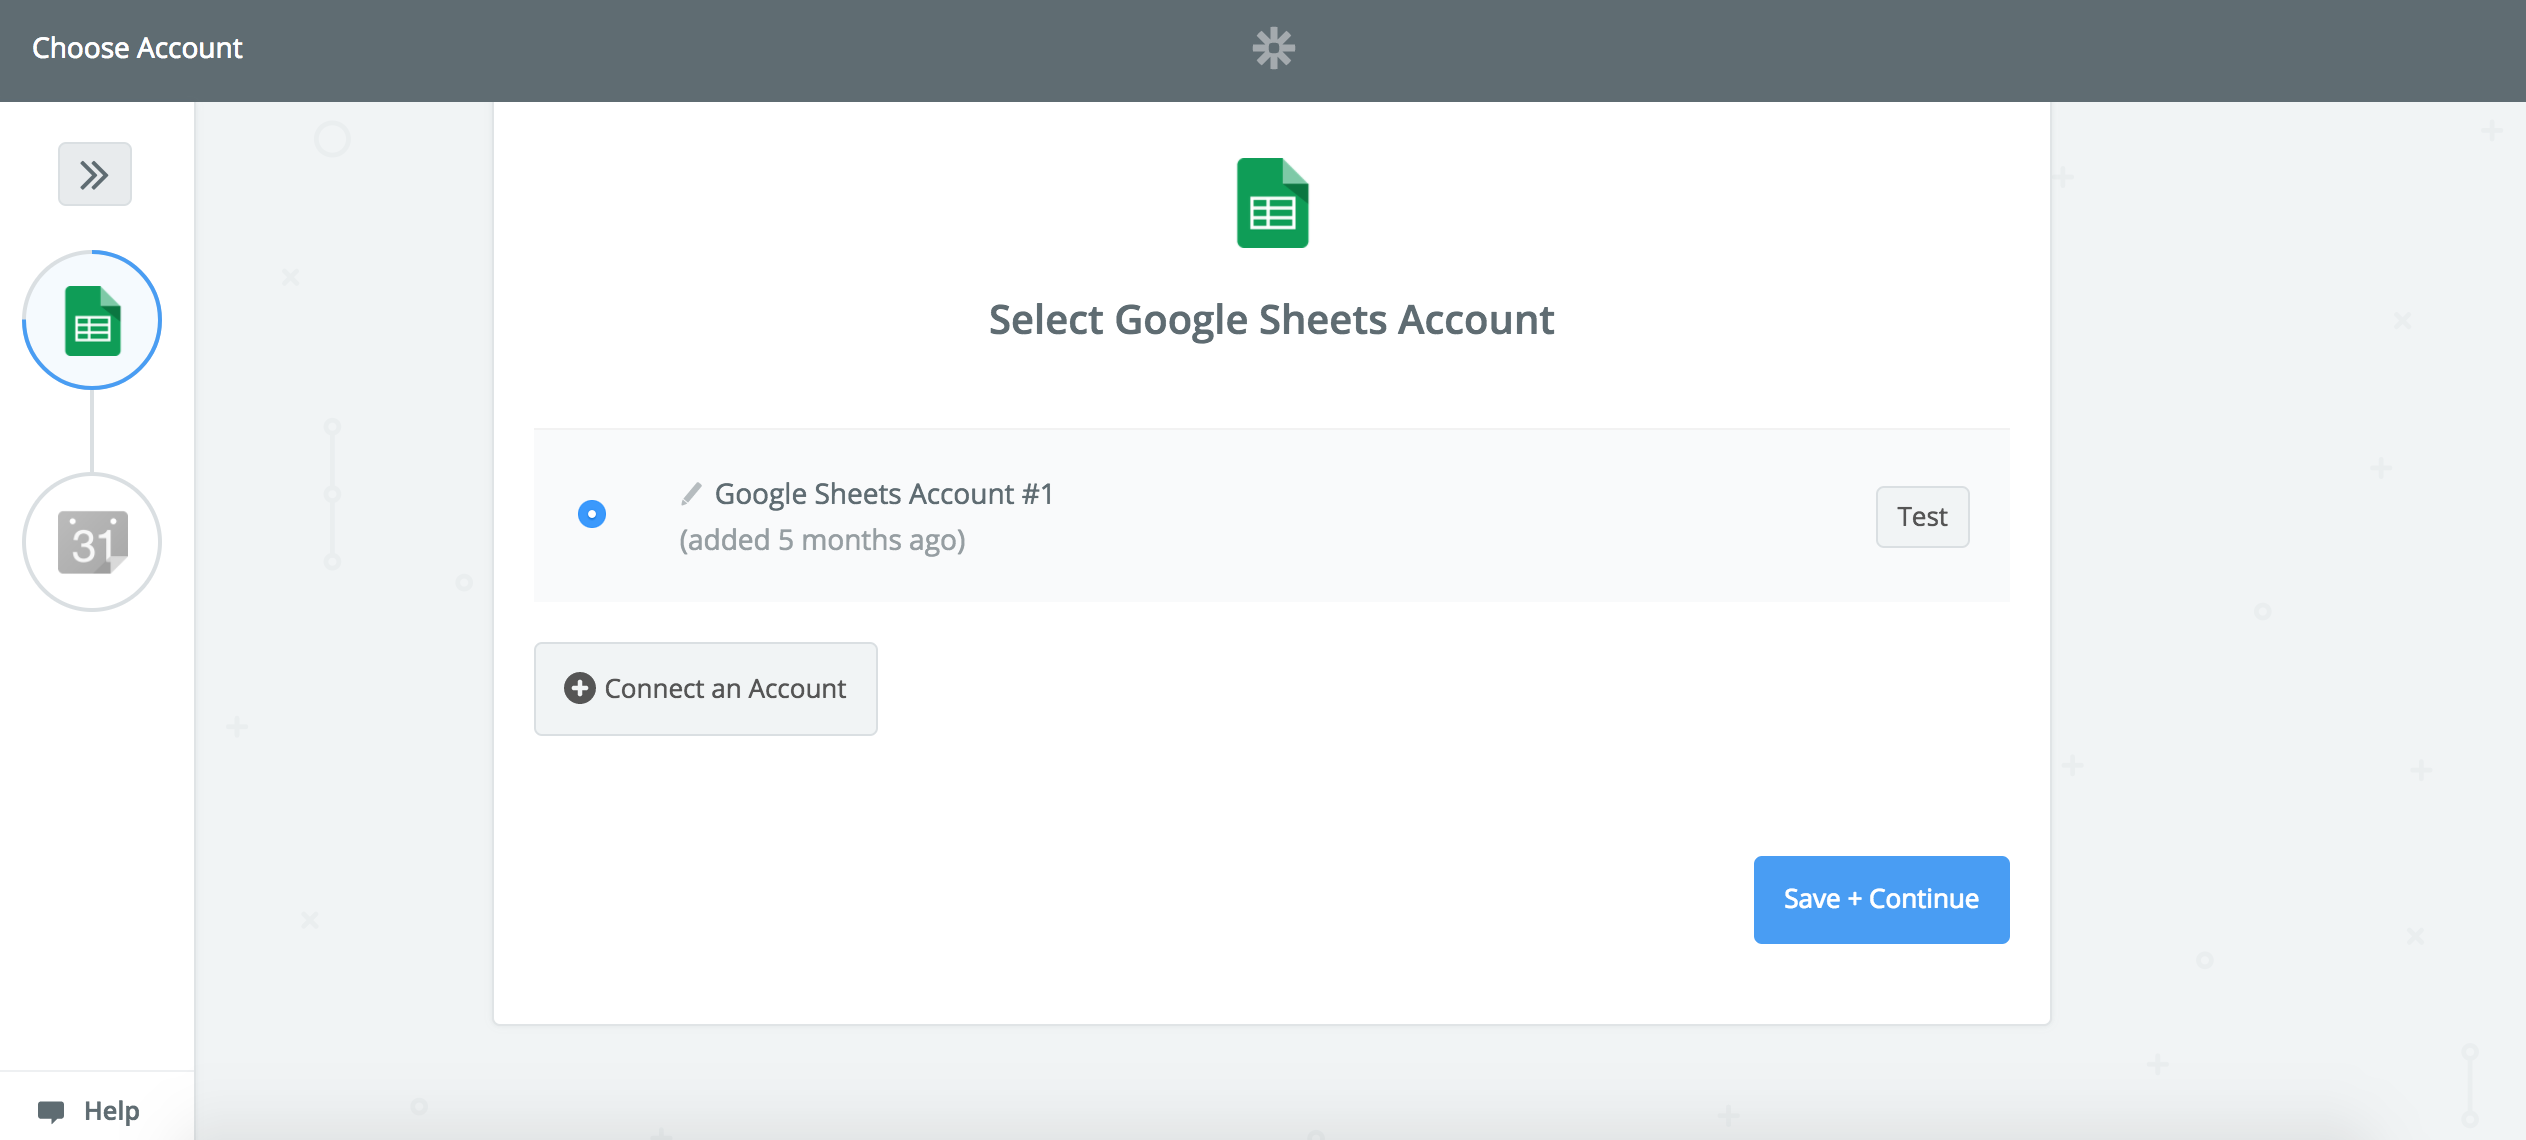
Then, you need to connect your Google Sheets account to Zapier. Click the "Connect an Account" button and enter your Google sign-in information in the pop-up window. Push "Save + Continue."
Step 5: Customize Your Zap: Tell It Which Google Sheet to Look At
Now, you need to tell your Zap which Google Sheet to keep an eye on. Choose the name of your spreadsheet from the dropdown list and tell the Zap specifically which sheet of that spreadsheet to look it (it will most likely be "Sheet1"). Click "Continue."
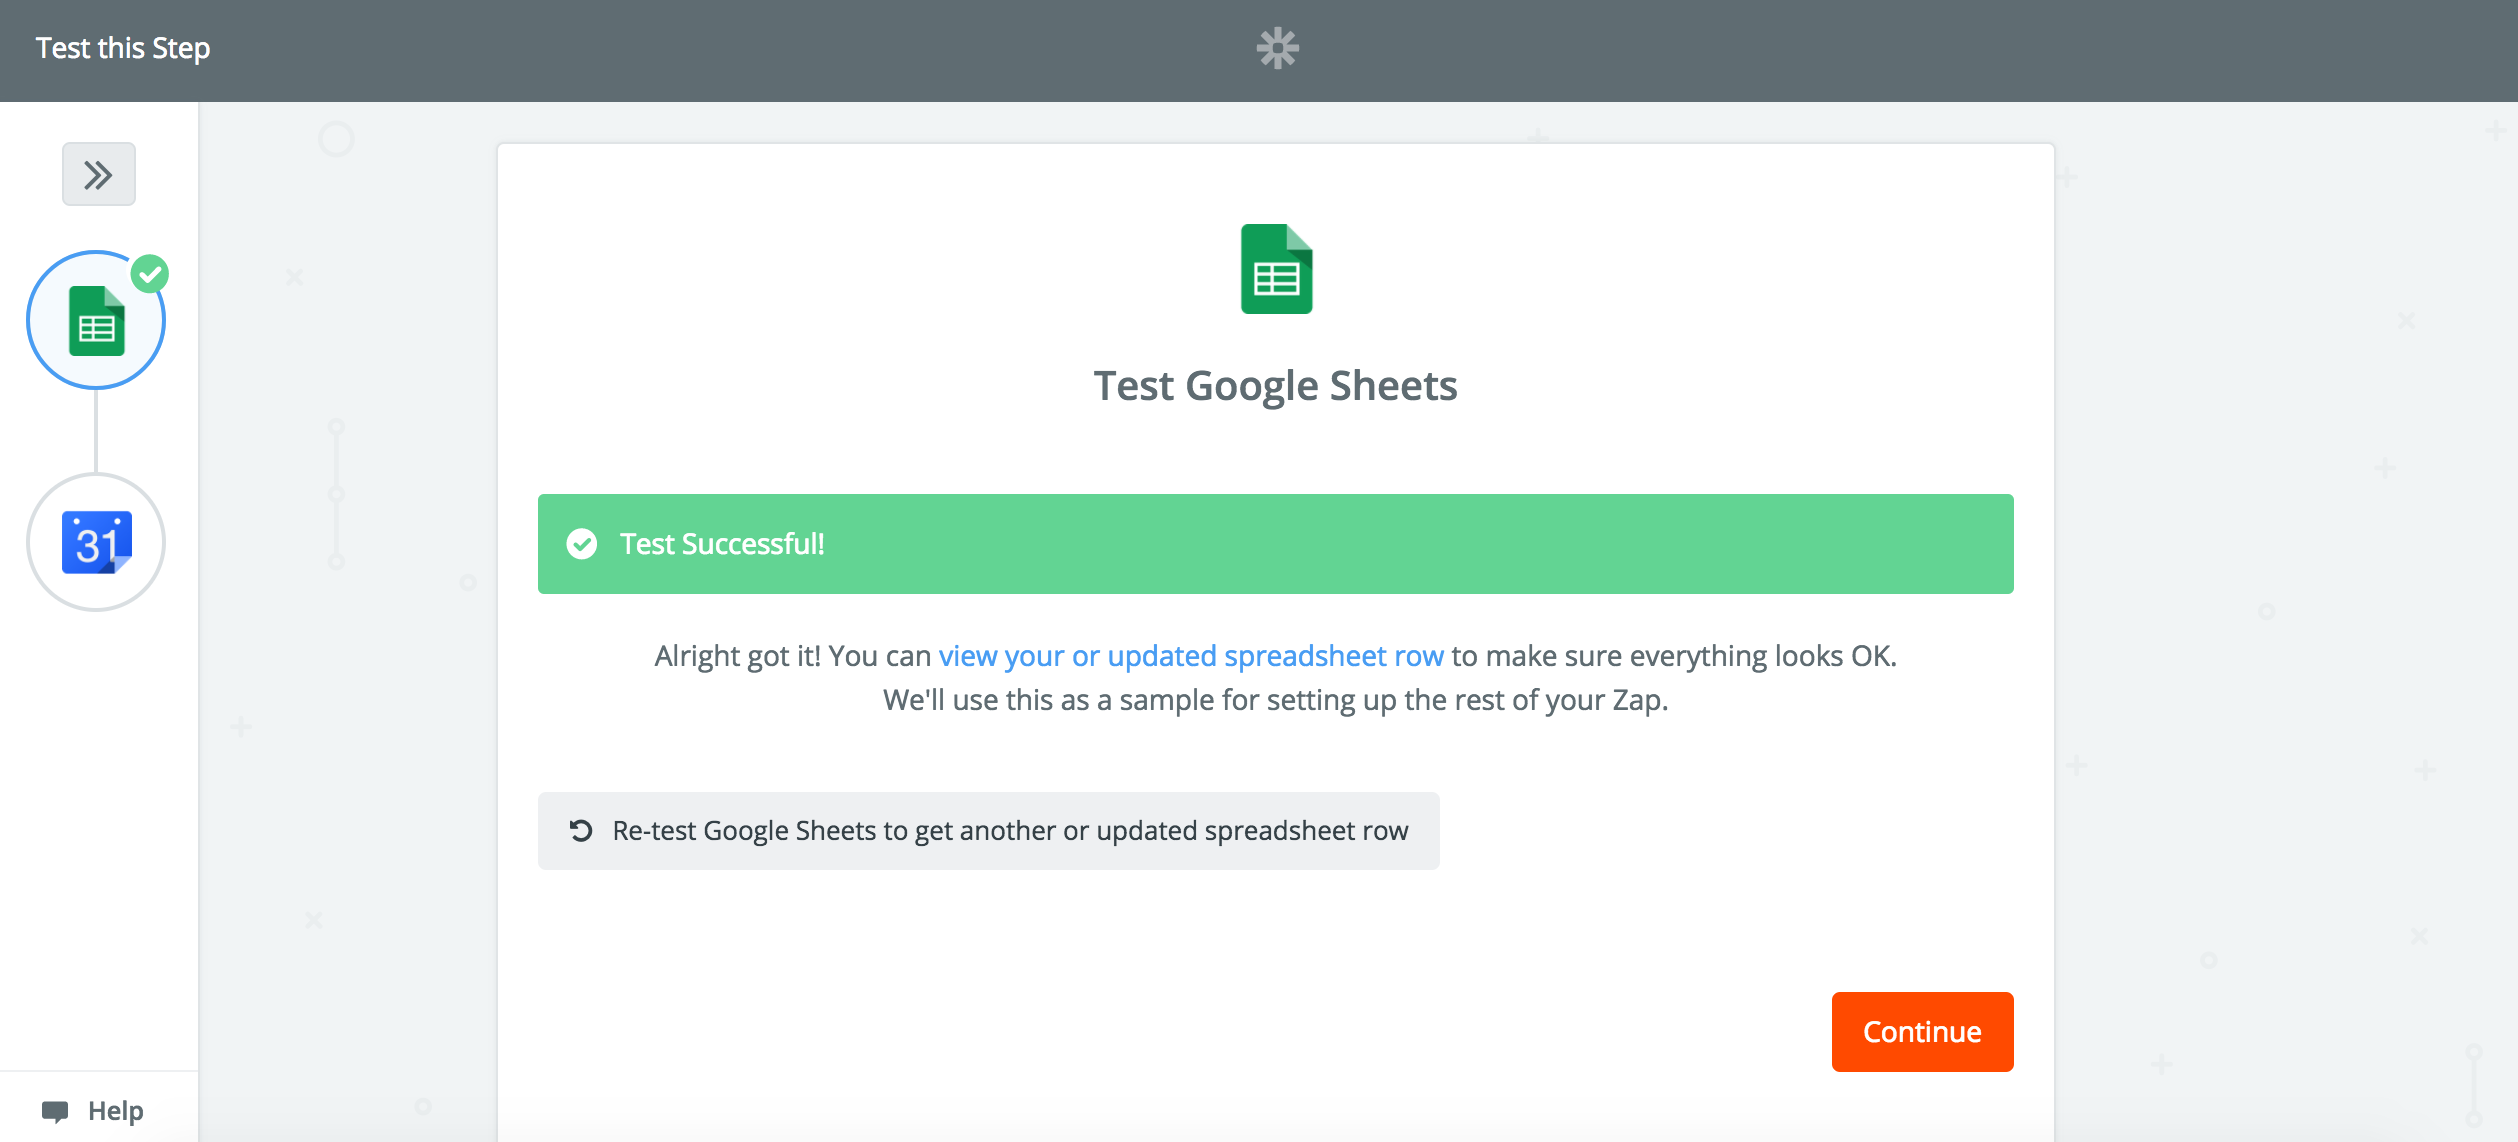
Now Zapier will pull an existing row from your Google Sheet to use as sample data. Click "Fetch & Continue". Once your Zap has successfully pulled an existing row from your spreadsheet, you will see the "Test Successful!" message appear. You can view the sample row that you will use to set up the rest of your Zap then push "Continue."
Step 6: Connect Zapier to Google Calendar
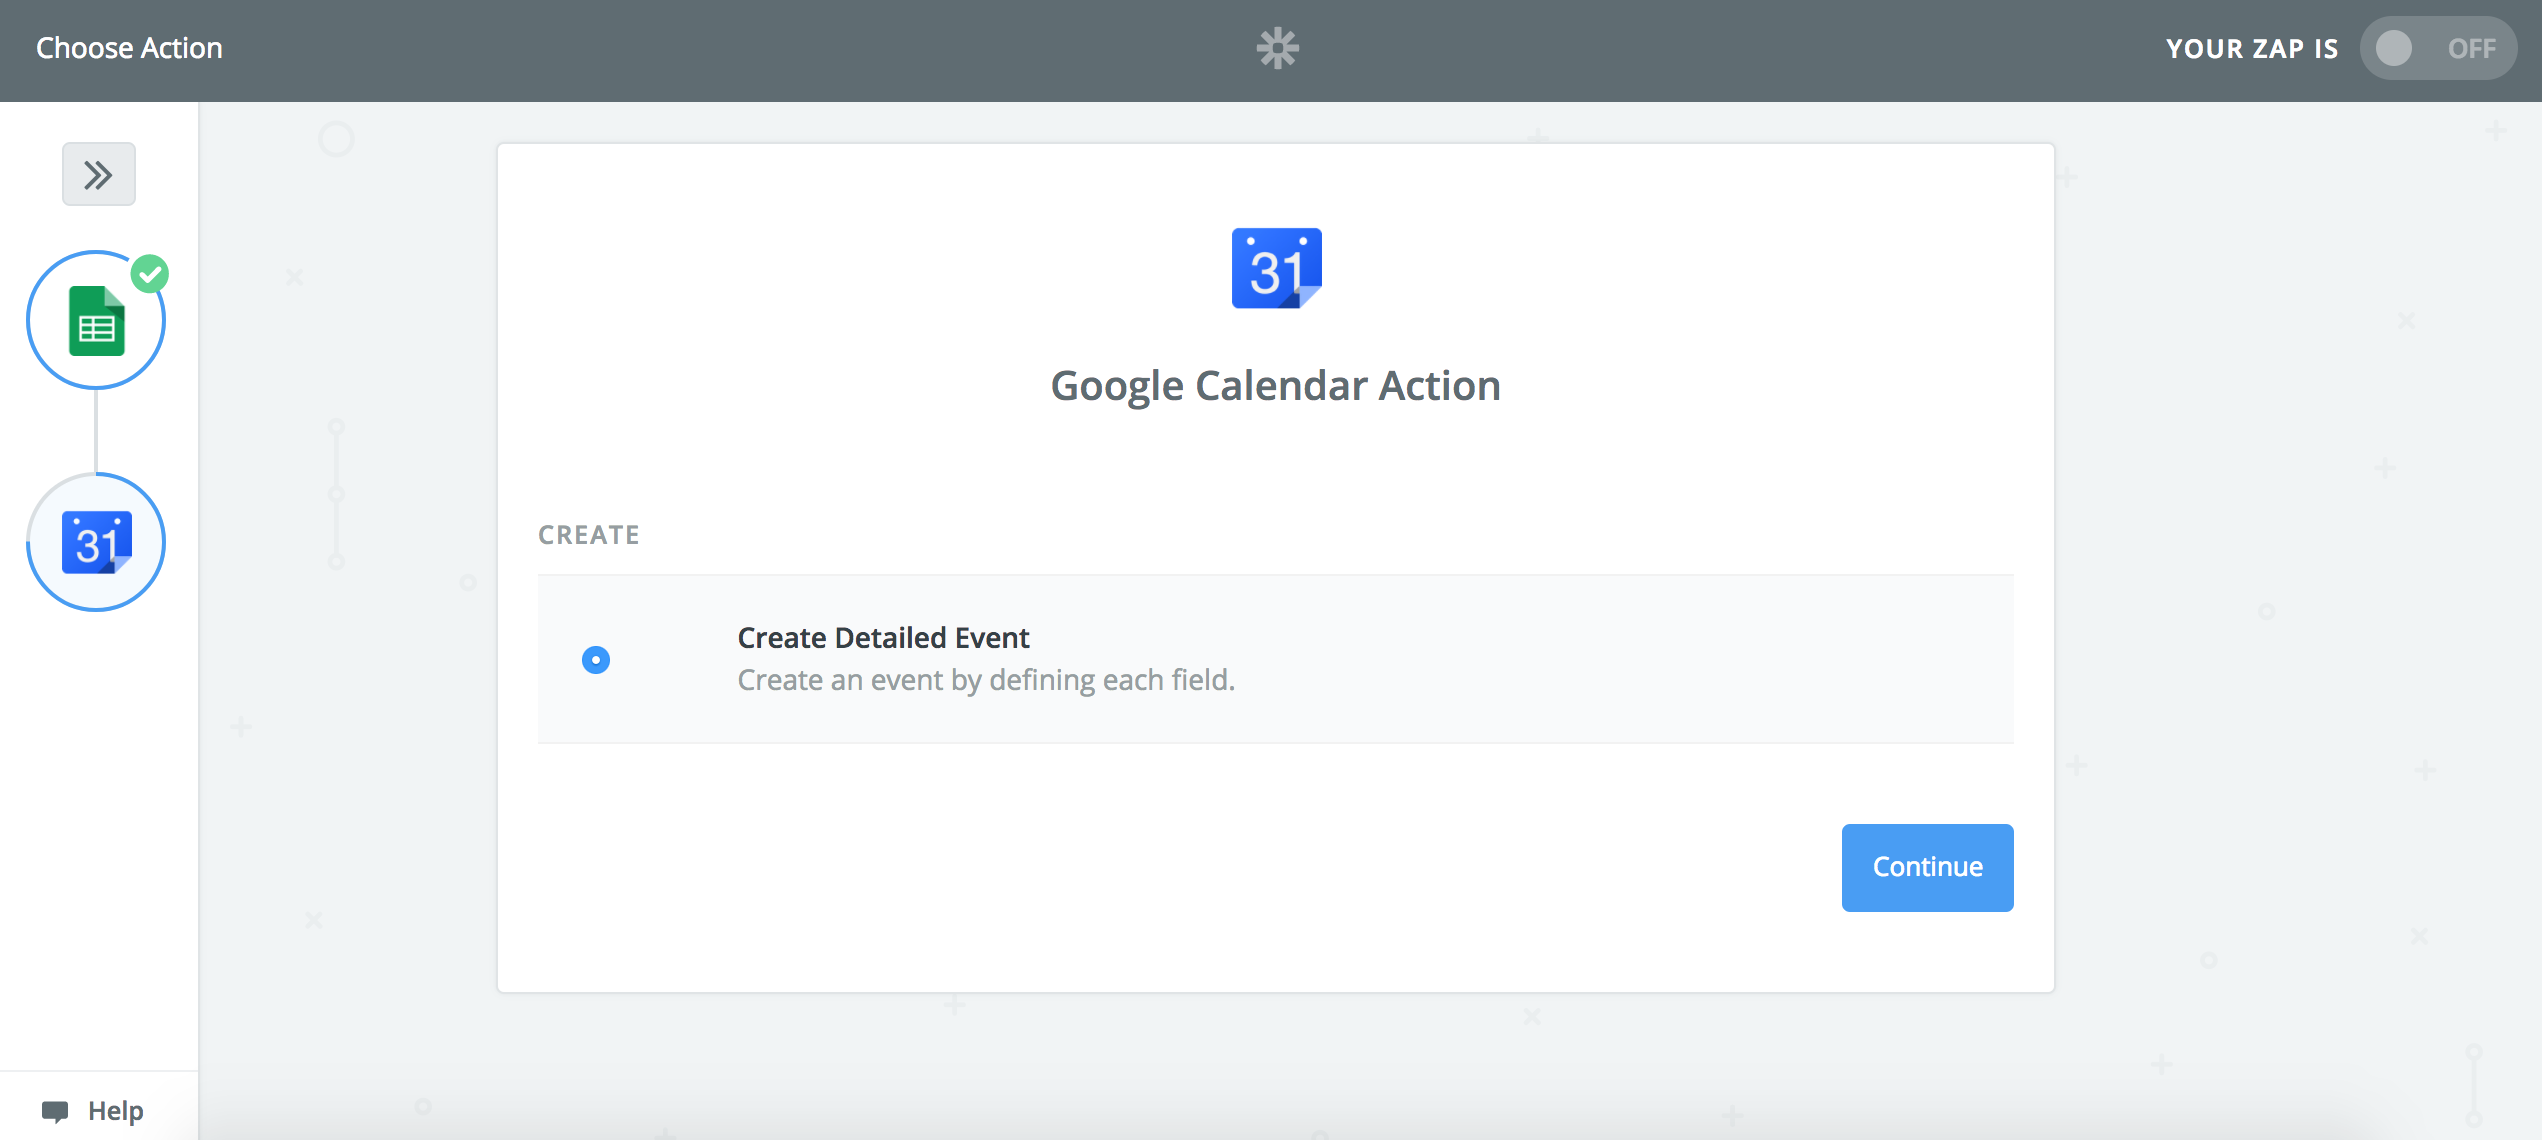
In the next step, you can view what your Zap is going to do with the data from Google Sheets. In this case, you can see that it will automatically "Create Detailed Event" in Google Calendar. Click "Continue".
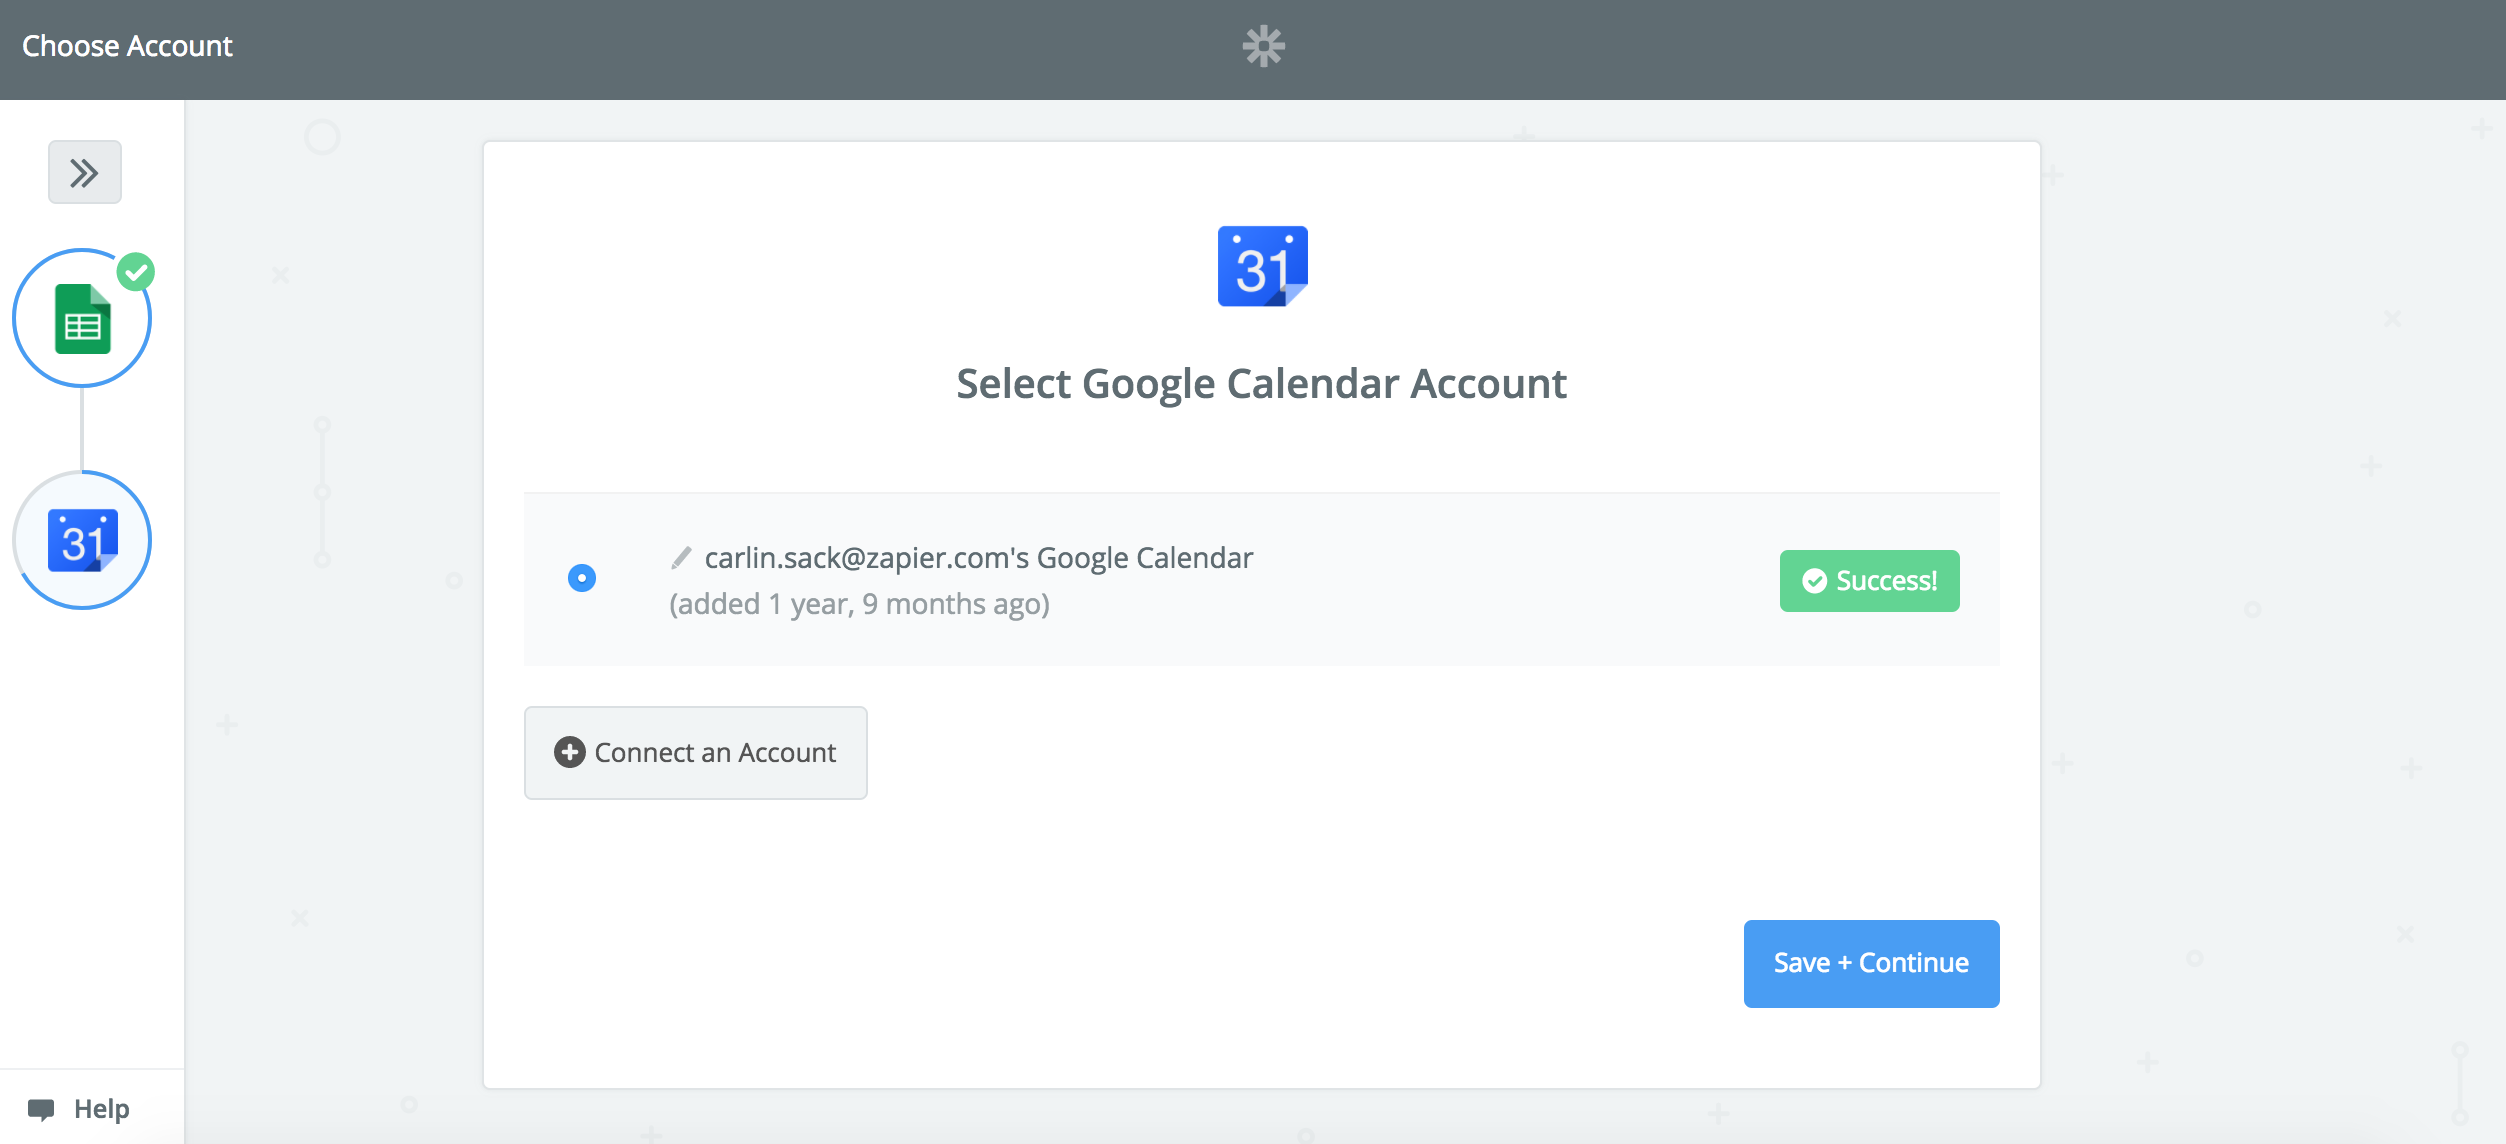
After that, connect your Google Calendar account to Zapier by clicking the "Connect an Account" button, enter your Google account information in the pop-up window, then click "Save + Continue."
Step 7: Customize Your Zap: Choose How You Would Like Your Google Calendar Events to Appear
Next, tell your Zap which calendar you would like to add the events to by choosing the name of a calendar from the dropdown menu.
Next, you will map the fields from Google Sheets to Google Calendar: your Zap will use the sample data it pulled from Google Sheets as an example. Map fields in your Zap by clicking on the + button on the righthand side of each field. Try this out by selecting the "Start Date and Time" field and you will see the sample data from Google Sheets that your Zap already pulled.
Choose the "Start Date" and "Start Time" options from the dropdown. You can select more than one option from the dropdown menu. That way, Zapier will create a Google Calendar event that starts at the time and date as what's marked in Google Sheets. Fill in the "End Date & Time" field in the same way.
You can also fill in other details about the Google Calendar event such as "Summary" or "Description" by clicking "Show advanced options," if you'd like. This way, the Google Calendar events your Zap creates will appear exactly how you want them to. Fill in as many fields as you'd like then push "Continue."
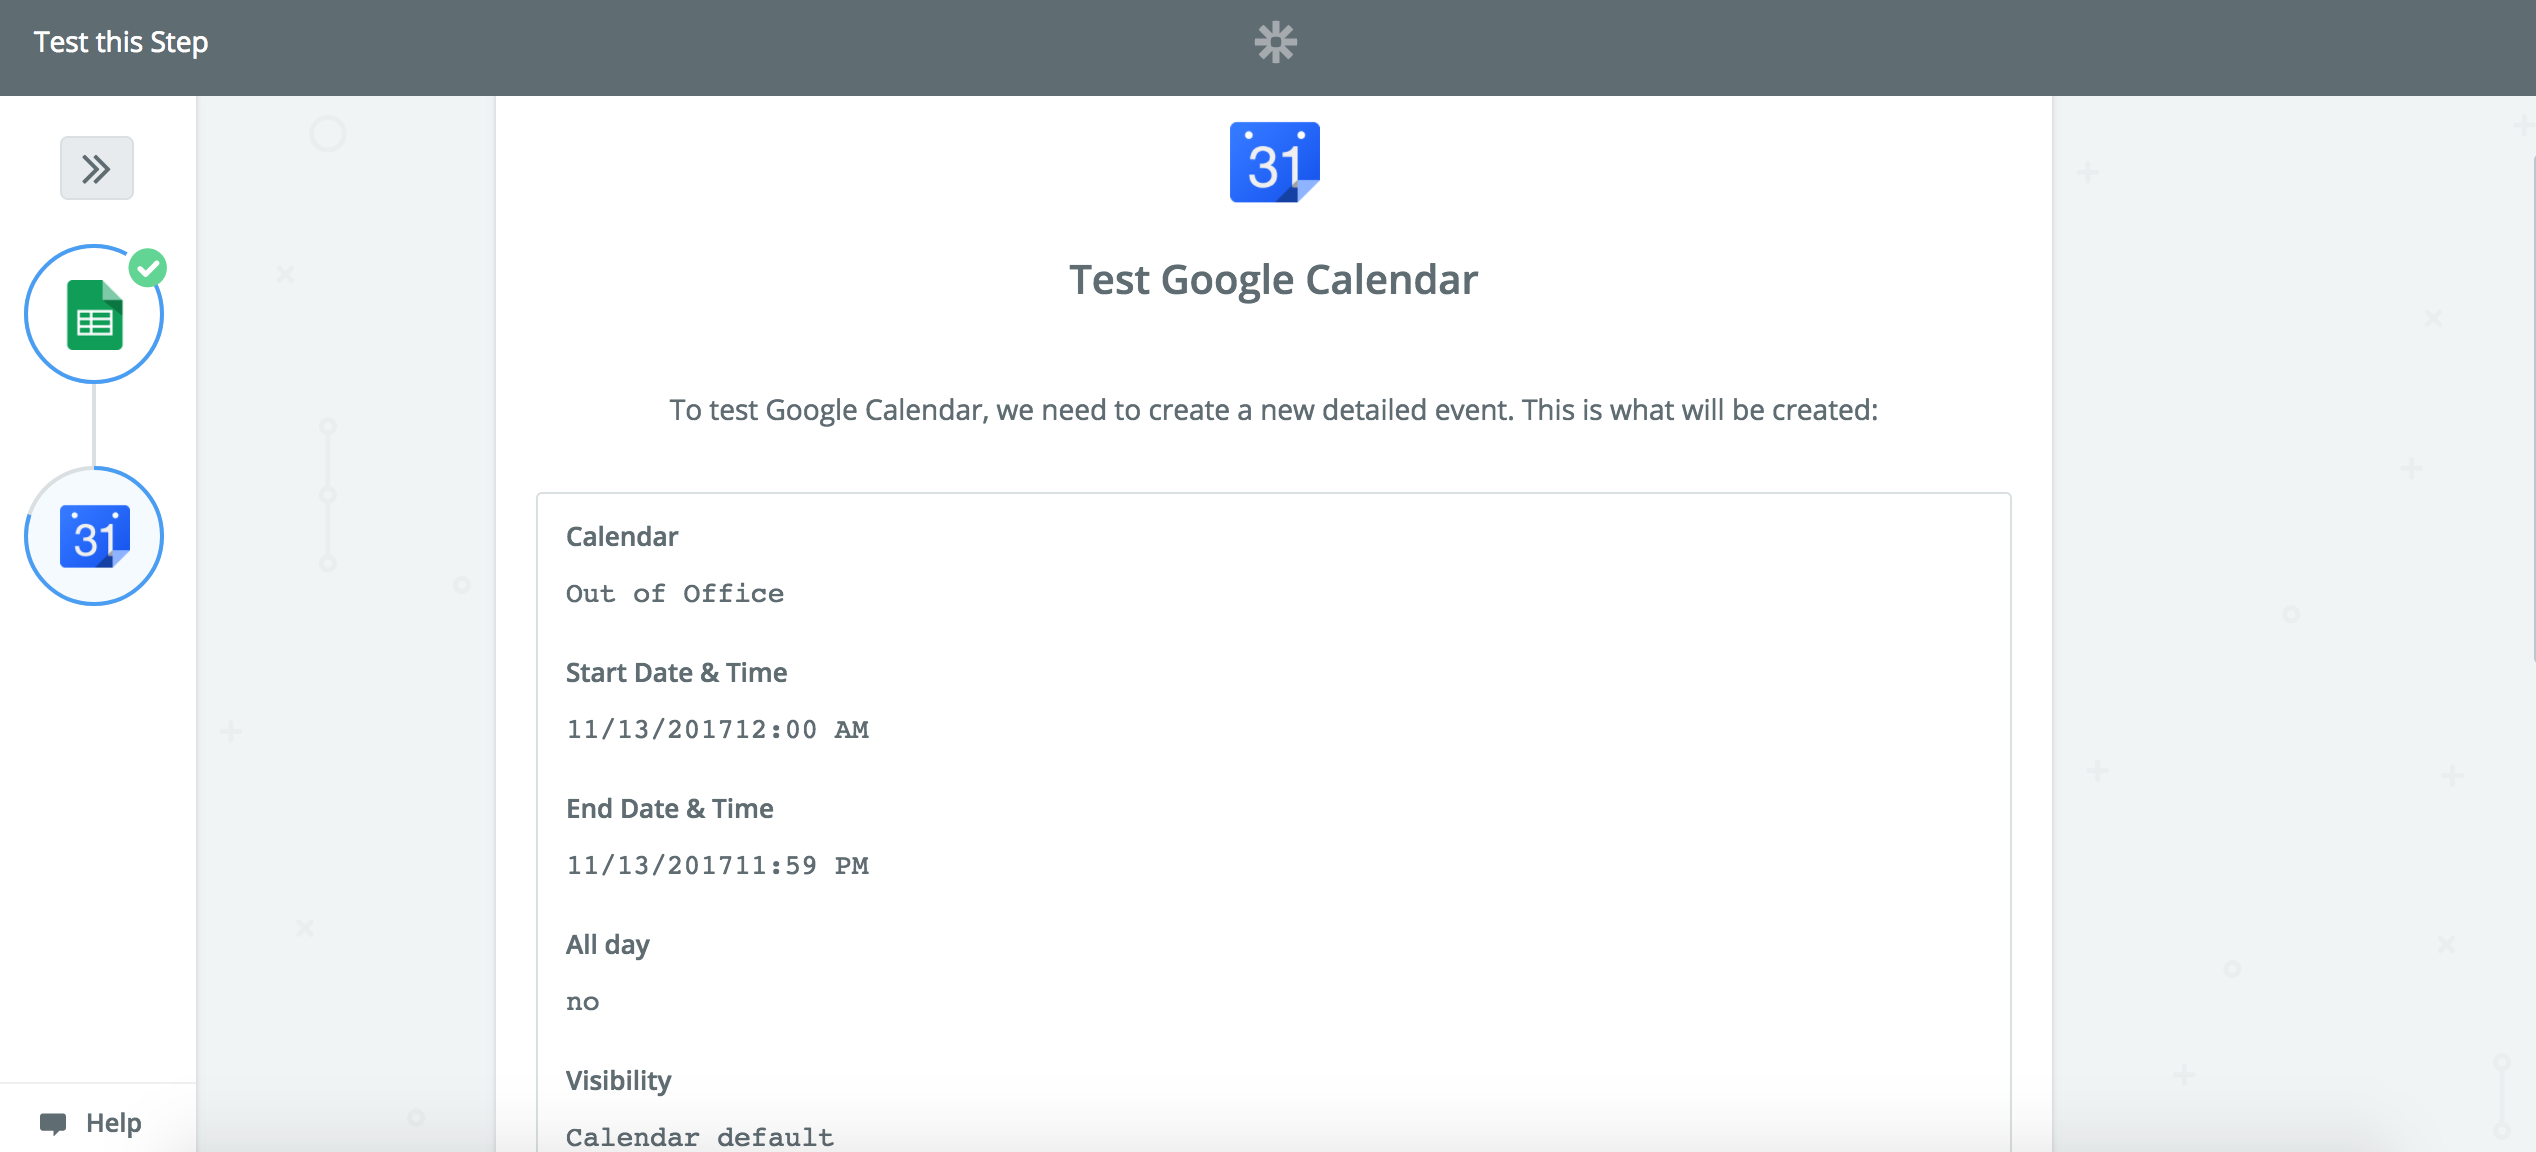
Step 8: Test Your Zap and View Your Automatically-created Google Calendar Event
Now your Zap will show you a preview of the Google Calendar event before it automatically creates it. If you're satisfied with the preview, push "Create & Continue."
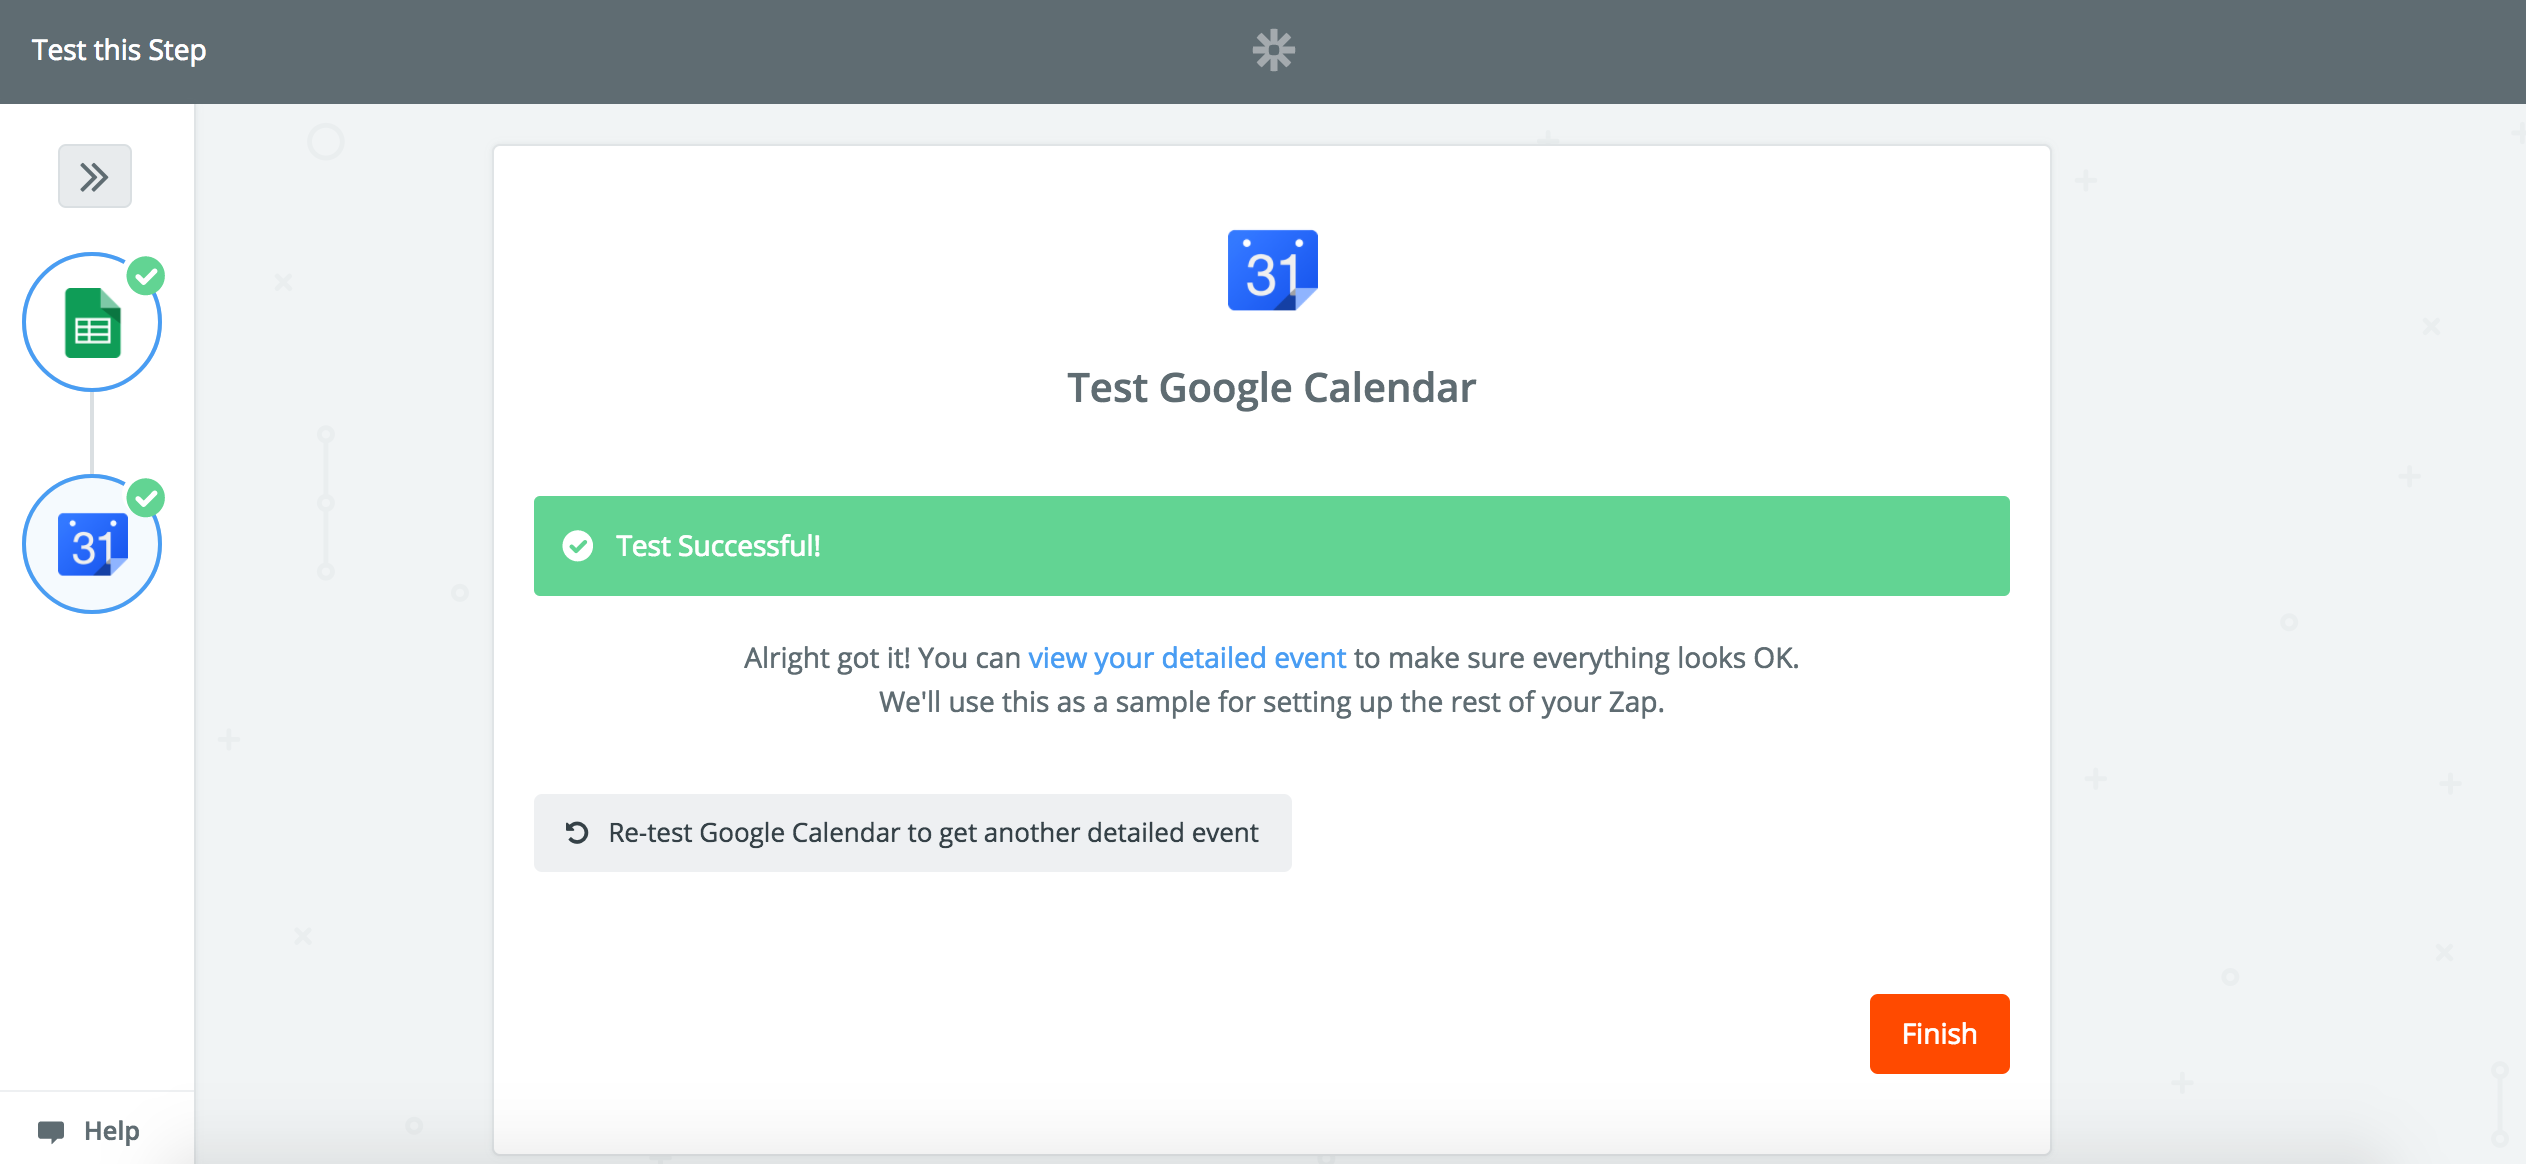
Once your Zap has automatically created an event on your Google Calendar, Zapier will show a "Test Successful!" message. But don't take our word for it: go to your Google Calendar and look at the automatically-created event yourself! If you're happy with the results of your Zap, click the "Finish" button.
Step 9: Turn Your Zap On
Don't forget to give your Zap home in a folder, so you can find it later in your Zapier account. Once you see the toggle switch to "On," you're all set!

Your Zap will now automatically create Google Calendar events every time you add a new row to Google Sheets. You can navigate away from the page or close Zapier entirely and this Zap will work invisibly in the background, so you can focus on more important things.
Have questions? You can read about solutions to common problems in our help documentation or feel free to contact us.
source https://zapier.com/blog/how-to-create-calendar-events-from-spreadsheet-tutorial/
No comments:
Post a Comment