Publishing online is so easy, you can jot your thoughts down and share them with the world in minutes. Constantly publishing a well-written and widely-read blog, however, takes far more work—much of the same work that goes into producing in-depth newspaper and magazine articles.
It's tempting to just write directly in your CMS. Online editors are notoriously fussy, however, apt to lose your post if your internet connection drops out—or if you accidentally close your tab. Need to import data into your post? Copy/paste is your only option. And if you're working on a team, few CMS (content management systems) include tools to avoid overwriting someone else's work.
That's what makes Google Docs such a great companion to a CMS like WordPress. It's the tool we use to draft and edit Zapier's blog posts—and with its new WordPress add-on, you can write, edit, and publish your finished post all from Google Docs.
Here's how.
1. Write Your Blog Post in Google Docs
Writing is the tough part. You have to think of what to say, research your topic, and turn it into a coherent piece. That's where you should spend most of your time—in writing, not in getting your piece published.
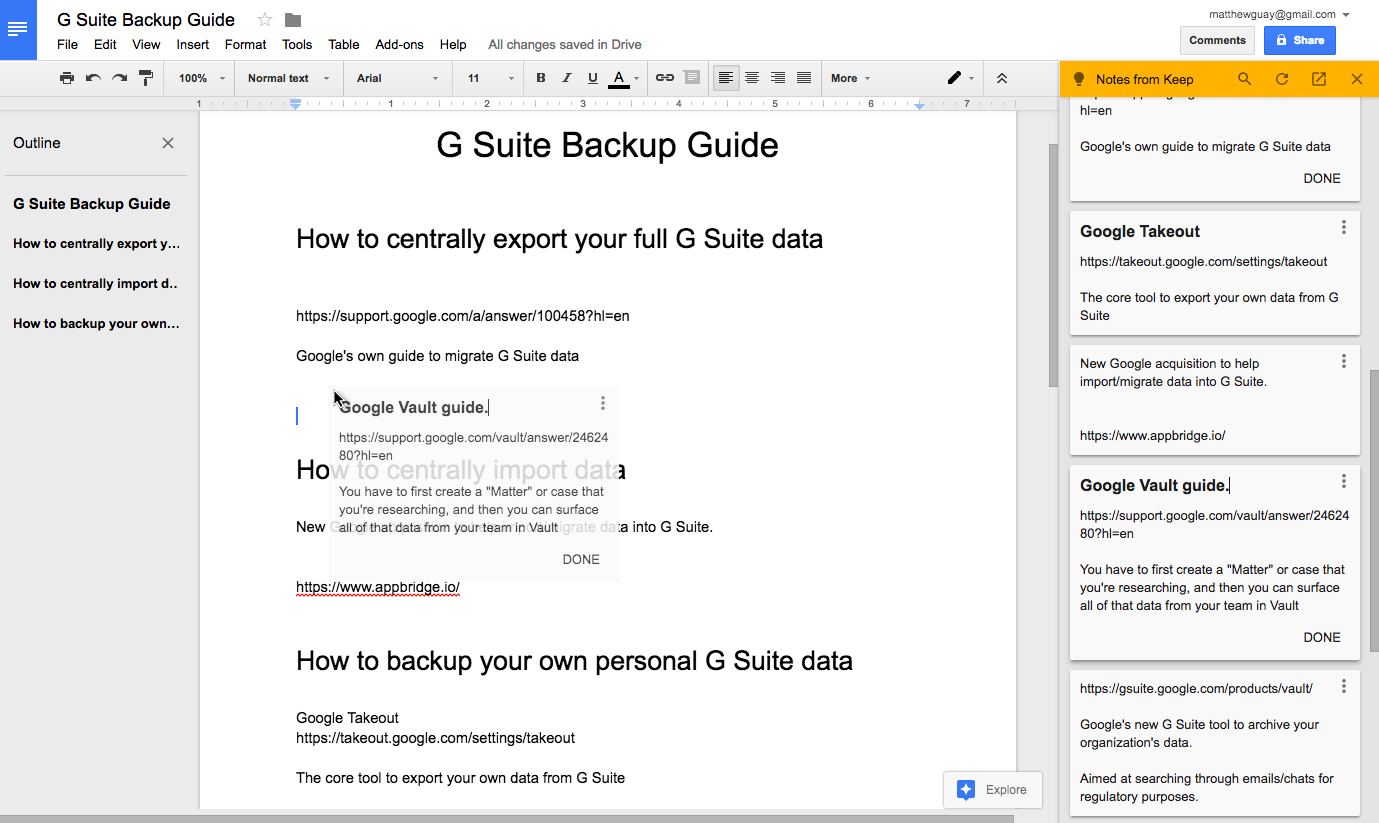
So just start out in Google Docs. It's a full-featured word processor, with keyboard shortcuts to speed up your work and add-ons to help you make better documents. Need an easy way to pull research into your post? Just use the Google Keep Chrome extension to copy quotes from the web, then drag them into your document from the Keep sidebar in Docs.
You might not even have to make your own new documents. On the Zapier team, we use the kanban board app Trello to organize our editorial calendar. With a Zapier automation, that task can make the new document for you. Just make a Trello board with lists for each stage of your publishing process and add cards to the first list with ideas for new blog posts. Then, when you're ready to write, drag the card to the Writing list, and a Zap can create a Google Doc with that idea for you. A similar automation could make docs from any to-do list or project app your team uses.
Prefer to use a different writing app? Perhaps you start your article out in a plain text writing app or want to turn your Evernote notes into a full article. A Zap could help you out, copying your document from Dropbox or Evernote and turning it into a new Google Docs file.
2. Format Your Document for Your Blog
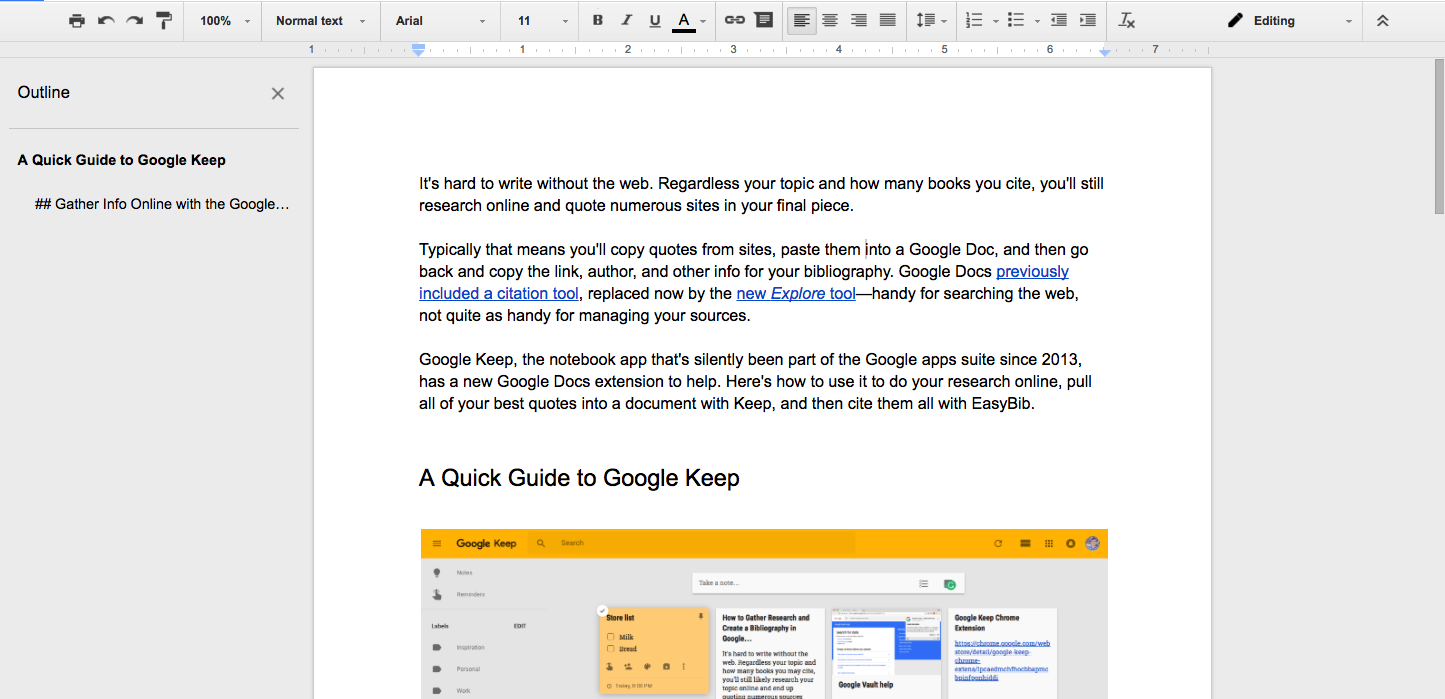
Once your copy is written, it's time to get things looking nice. Google Docs' default editing tools are perfect for publishing to WordPress. Just use the standard tools to add bold, italics, links, and other formatting.
To add headings, just select your text and use one of Google Docs' built-in headings. Heading 2 will turn into a H2 heading in WordPress, and so on. Lists will also convert into their default HTML formats, too. Images work great as well. Just drag-and-drop them into your document, and Google Docs can send them over to your blog when you're ready to publish.
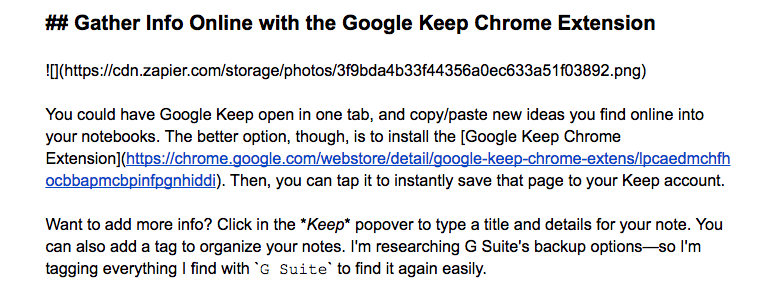
Another option is to write in Markdown formatting, as we do on the Zapier blog, using asterisk to make italics text, back-ticks to highlight code, and hashtags to add headings. It works fine in Google Docs, too—though it won't preview the formatting automatically.
To include images, you can just drag-and-drop them into Google Docs as before, or you could upload them directly to your server and add them with Markdown code. Either option will work, though with the latter option you'll need to resize your images for your blog before uploading them. If you just drag-and-drop in images, Google Docs will resize them for you automatically.
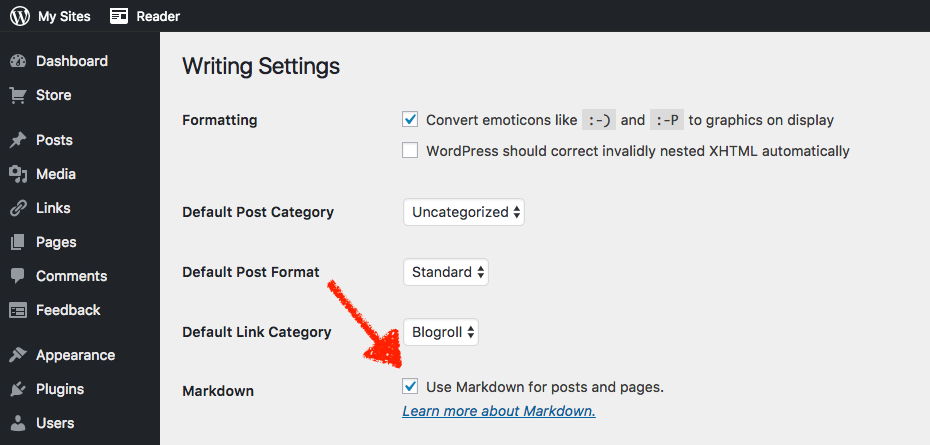
There's only one catch: You'll need to enable Markdown support in WordPress. If you're using the hosted WordPress.com for your site, go to yoursite.com/wp-admin/options-writing.php, replacing yoursite with your site's domain, then tap the Use Markdown for posts box and save your settings. If you're using self-hosted WordPress.org for your site, install the Jetpack plugin and enable Markdown from its Settings page. You'll need the Jetpack extension to publish from Google Docs to your blog, too—it's the WordPress add-on that adds most of the WordPress.com features to your self-hosted blog.
3. Collaborate on Your Blog Post in Google Docs
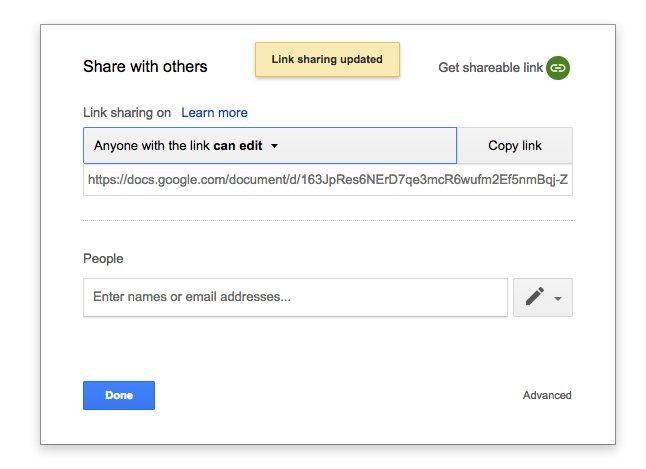
Now it's time for Google Docs' best feature: Editing. First, you'll need to share your document. Tap the Share button at the top and tweak the sharing settings to fit your team's needs (either invite the people who need to edit the document or, if you're using a G Suite account, share it with your whole company for simple team editing).

The collaborators you've shared the document with can directly tweak anything in your article or add comments and suggestions about things that should be changed. Multiple people can jump in the edits at the same time, too, to make sure nothing's missed.
Once the edits are done, you'll need to open your document again and approve the changes or take action on their comments. One easy way to do this is to have your team move the edited document into a new shared folder, and have Zapier notify you in Slack whenever a document is added to that folder. That way, you'll know when it's time to dive in and finish tweaking your article in Docs.
Once that's done, you're ready to publish.
4. Publish to WordPress Directly from Google Docs
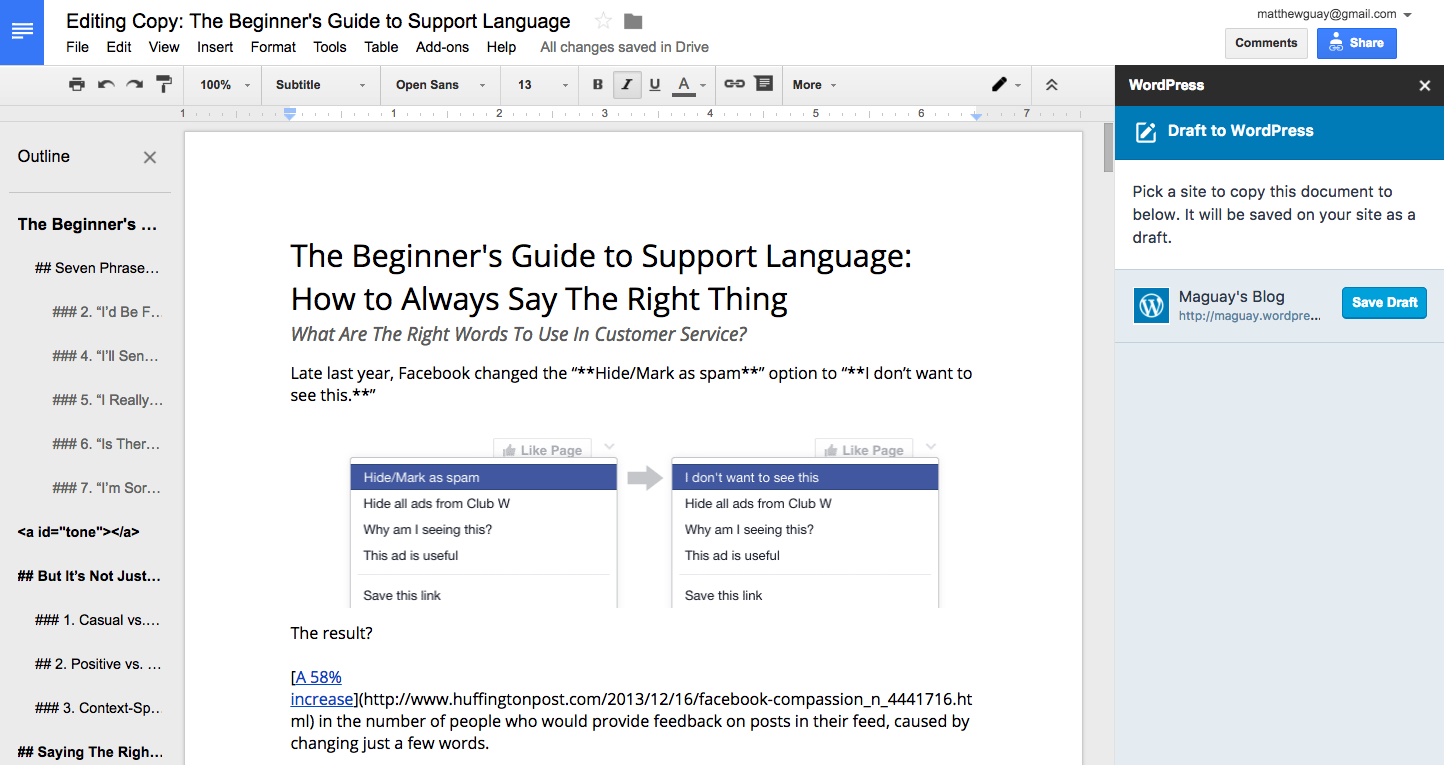
Ready for the fun part? Just install the WordPress.com for Google Docs add-on in Google Docs (you can install it from that link or open the Add-ons menu and install it from the in-app store). Then, open the WordPress add-on sidebar, and tap Add WordPress Site to connect it to your site. It'll connect to WordPress.com sites and self-hosted WordPress sites with Jetpack installed automatically.
You'll now see your blog in the sidebar with a Save Draft button. Click that to copy your document into a new blog post. Your document title will be set as the post title, and everything from your document—images and all—will be copied over to your blog post.
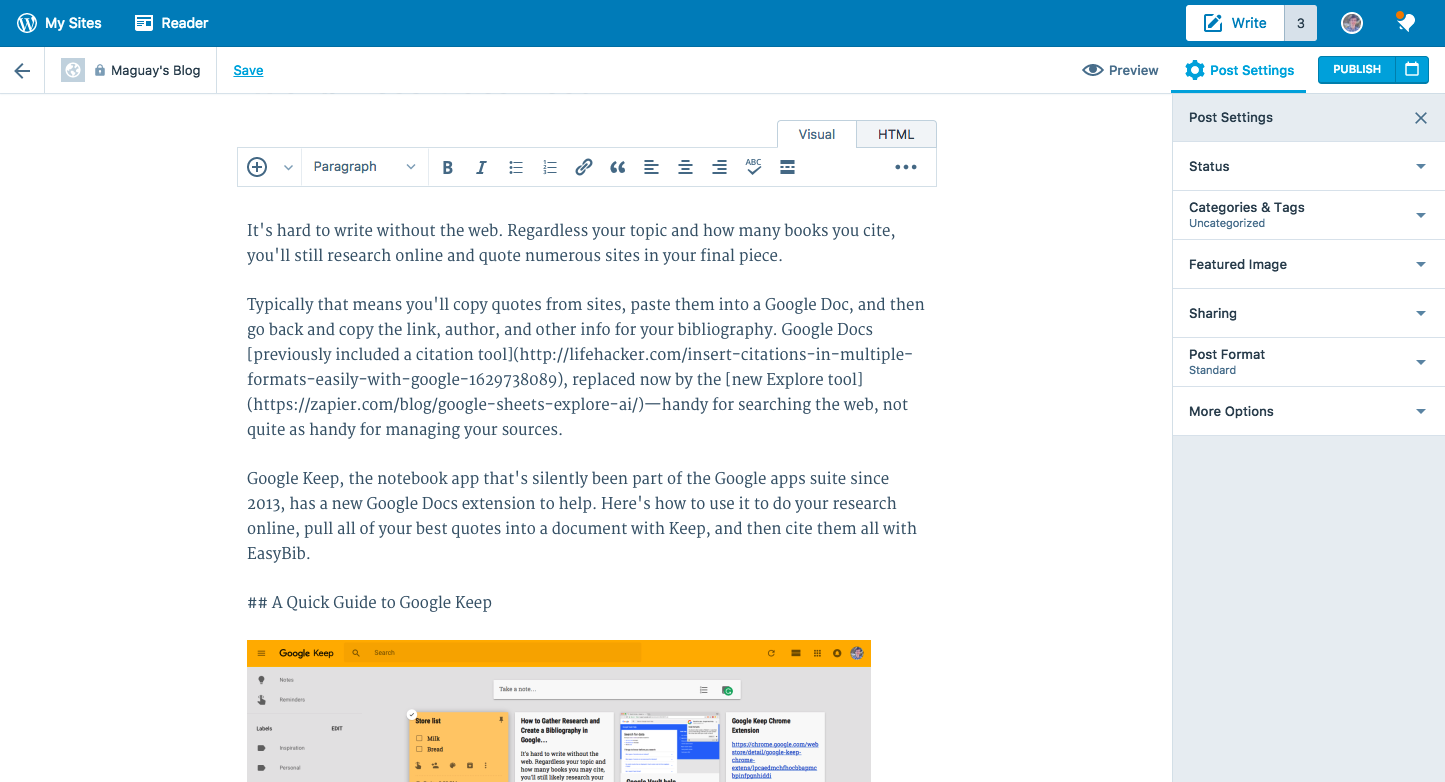
The sidebar will give you a preview link; click it to see your post on your blog. Tap the Edit button to tweak anything or add tags and categories. If you used Google Docs' standard formatting, you'll see the rich text preview in the editor—and standard HTML formatting in the HTML view. That's one of the benefits of using the WordPress add-on: You won't get any of the extra, unnecessary formatting code in WordPress that you might if you copied directly from Docs or Word. And if you wrote in Markdown, you'll see the Markdown formatting in both the visual and HTML modes.
There's only one thing to watch out for. If you've used both Markdown and rich text formatting in your post, the add-on might get confused and combine formatting in odd ways. That's why it's best to stick to one. If you do, you can almost guarantee that your document will look as great on your blog as it did in Google Docs.
Now that it's so much quicker to publish to WordPress, speed up the rest of your editorial process with Zaps that can automatically share your blog post and let your team know when something new is published.
Continue Reading
Struggling to make an editorial calendar that fits your needs? Check out our in-depth guide to building an editorial calendar with tips on the best workflows and apps to use from a variety of teams.
source https://zapier.com/blog/publish-wordpress-google-docs/

No comments:
Post a Comment